Creating an image Gallery
A picture tells a thousand words, but the right one sells a thousand products. Display your images in a gallery to make sure you’re getting the most out of your Spiffy store. See examples of how your images could look below.


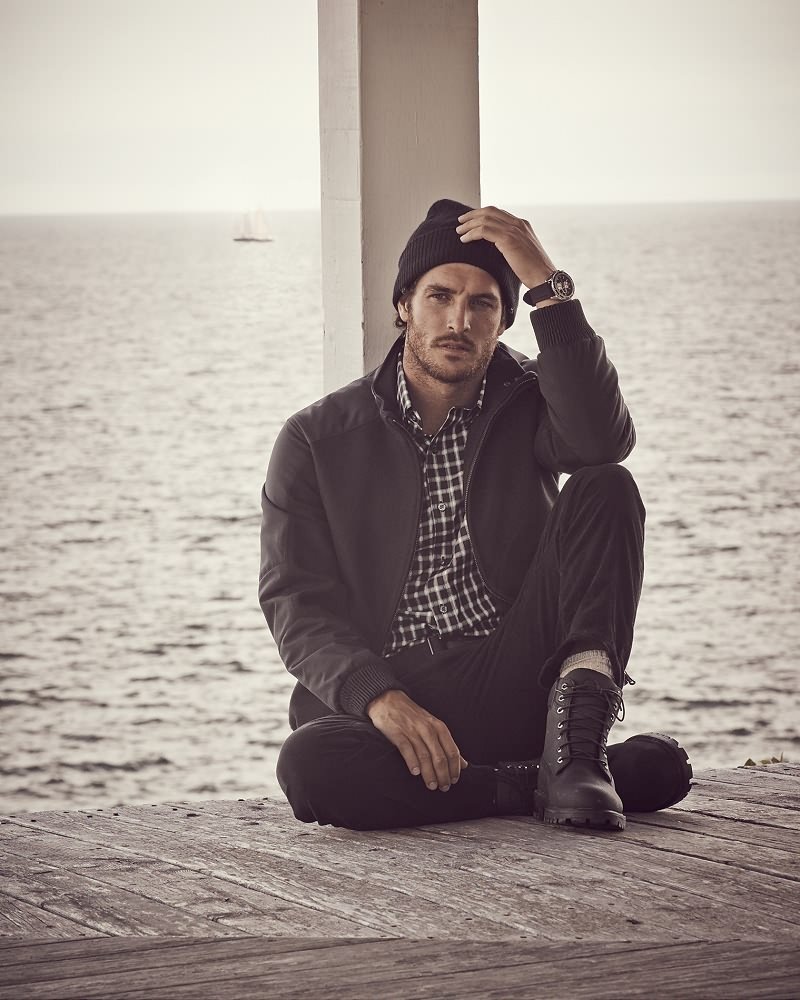
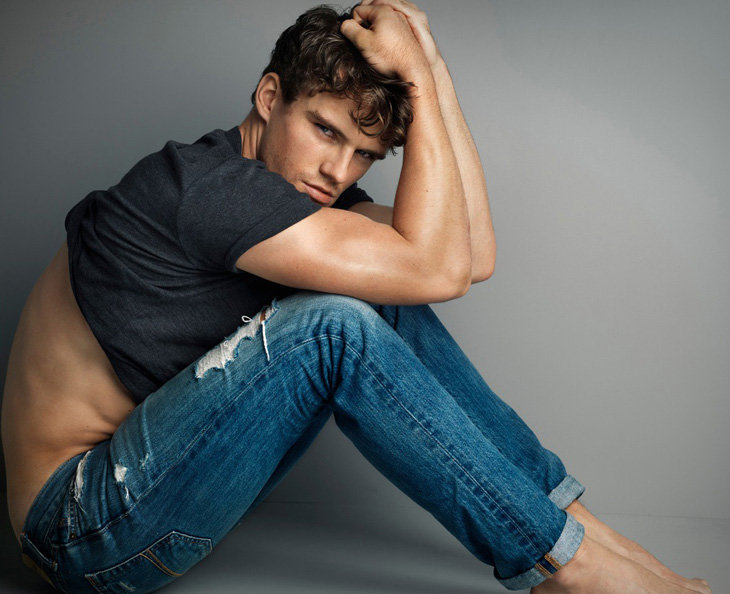
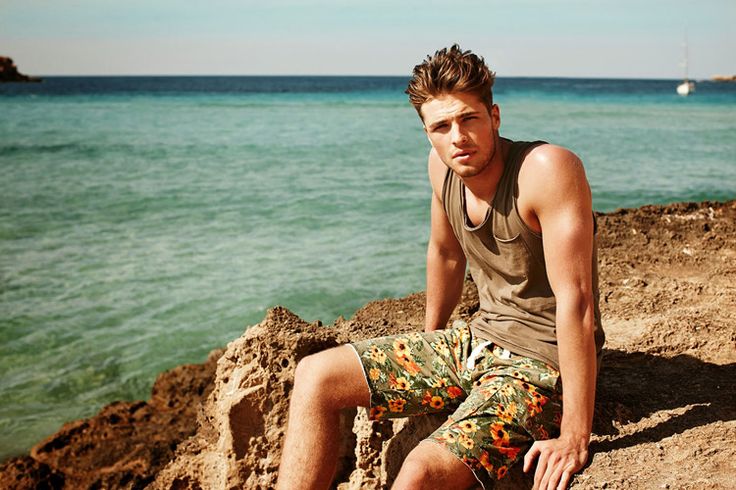


The code to make this gallery display looks like this…
<notextile><a href="/files/0d248e34335fb7cd7cf1a70448fb0a36.jpg" class="gallery" title="First Caption"><img src="/files/0d248e34335fb7cd7cf1a70448fb0a36.jpg" alt="" /></a><a href="/files/hat_2.jpg" class="gallery" title="Second Caption"><img src="/files/hat_2.jpg" alt="" /></a><a href="/files/mens-tshirts-01.jpg" class="gallery" title="Third Caption"><img src="/files/mens-tshirts-01.jpg" alt="" /></a><a href="/files/fe64bfdac45fef77a77fe15549981485.jpg" class="gallery" title="Third Caption"><img src="/files/fe64bfdac45fef77a77fe15549981485.jpg" alt="" /></a><a href="/files/d0316d3c9f60f656d2bc5864f078ec5b.jpg" class="gallery" title="Fourth Caption"><img src="/files/d0316d3c9f60f656d2bc5864f078ec5b.jpg" alt="" /></a><a href="/files/dc9a2436bc126cda8a11a3c89353e238.jpg" class="gallery" title="Fifth Caption"><img src="/files/dc9a2436bc126cda8a11a3c89353e238.jpg" alt="" /></a><a href="/files/eb2cf4c2d24f745c29bd9c0aa8c91983.jpg" class="gallery" title="Sixth Caption"><img src="/files/eb2cf4c2d24f745c29bd9c0aa8c91983.jpg" alt="" /></a><a href="/files/3086ad6d74b3b37c44a0b0385d1ef84e.jpg" class="gallery" title="Seventh Caption"><img src="/files/3086ad6d74b3b37c44a0b0385d1ef84e.jpg" alt="" /></a><a href="/files/60f4a62ab59eb99e293e5629816b38d7.jpg" class="gallery" title="Eighth Caption"><img src="/files/60f4a62ab59eb99e293e5629816b38d7.jpg" alt="" /></a><a href="/files/aa6987d58752ed7a31c947d56f2ef35d.jpg" class="gallery" title="Ninth Caption"><img src="/files/aa6987d58752ed7a31c947d56f2ef35d.jpg" alt="" /></a></notextile>
As you can see, it just looks like a big block of code. If we just look at one image however, the code looks like this…
<a href="/files/0d248e34335fb7cd7cf1a70448fb0a36.jpg" class="gallery" title="First Caption"> <img src="/files/0d248e34335fb7cd7cf1a70448fb0a36.jpg" alt="" /></a>
…which is almost exactly the same as inserting an image normally to make use of the built-in lightbox function. The difference is that we use the following CSS class on the image…
class="gallery"
rather than…
class="popup-image"
Creating a gallery
Image galleries come in handy if you want to display multiple images on a page. To create a gallery however isn’t easy, and even the smallest error in your code will make it display incorrectly. You’ll need complete concentration, and lots of testing to get it right. Follow the instructions in this tutorial to create your own image gallery in the Melbourne theme.
To create a gallery in your store, upload your images to the “Design & assets → Uploaded files” section of your store’s Toolbox. You then create or edit a page, and copy and paste the code below into the page where you want your gallery to appear.
<a href="/files/your-image-name.jpg" class="gallery" title="Enter your caption, or leave this blank"><img src="/files/your-image-name.jpg" alt="Enter your caption, or leave this blank" /></a>
Next, you replace your-image-name.jpg with the file name of your image (in both places!) and replace Enter your caption, or leave this blank (in both places!) with the caption that you want to appear underneath your image in the gallery view.
Save your page, and you should see your image displayed as a small square like the ones above.
You’ll need to continue this process for each image in your gallery, and then make sure that you remove any spaces between the code blocks… so that your block of code looks like the example at the top of this page.
If your gallery comes out looking something like this…
…it’s likely that you have errant spaces or carriage returns in your code. You should edit your code and remove any extra spaces between images.


